6. 课后作业 “Tamagotchi 商店”
在这个任务中,Tamagotchi 与两个其他合约进行交互: tamagotchi-store 和 fungible-token。
智能合约
0️⃣ 不要忘记与上游的模板存储库 同步你的分支 。然后将在前一课程中所做的 03-tamagotchi-nft 文件夹中的所有更改复制到 04-tamagotchi-shop 文件夹并将它们推送到 master 分支。为当前的作业创建一个新分支。所有新的更改应在04-tamagotchi-shop 文件夹中完成。
1️⃣ 在你的 Tamagotchi 的 Cargo.toml 中添加 ft-main-io 和 store-io 包,如下所示:
# ...

[dependencies]
# ...
ft-main-io.workspace = true
store-io.workspace = true

# ...
2️⃣ 为 Tamagotchi 合约添加字段,包括同质化代币的地址、与同质化代币合约通信的交易 ID 以及批准交易的详细信息。
#[derive(Default, Encode, Decode, TypeInfo)]
pub struct Tamagotchi {
    // ... (copy fields from the previous lesson)
    pub ft_contract_id: ActorId,
    pub transaction_id: u64,
    pub approve_transaction: Option<(TransactionId, ActorId, u128)>,
}
3️⃣ 添加以下操作:
SetFTokenContract以设置同质化代币地址;ApproveTokens以批准将代币转移给商店合约;BuyAttribute以购买商店中的属性。
#[derive(Encode, Decode, TypeInfo)]
pub enum TmgAction {
    // ... (copy variants from the previous lesson)
    SetFTokenContract(ActorId),
    ApproveTokens {
        account: ActorId,
        amount: u128,
    },
    BuyAttribute {
        store_id: ActorId,
        attribute_id: AttributeId,
    },
}
4️⃣ 添加以下事件:
FTokenContractSet以通知同质化代币地址已设置;TokensApproved以通知代币已获得批准;ApprovalError以通知代币未获得批准;AttributeBought以通知已购买属性;CompletePrevPurchase以通知上一个购买已完成;ErrorDuringPurchase以通知购买期间发生错误。
#[derive(Encode, Decode, TypeInfo)]
pub enum TmgEvent {
    // ... (copy variants from the previous lesson)
    FTokenContractSet,
    TokensApproved { account: ActorId, amount: u128 },
    ApprovalError,
    AttributeBought(AttributeId),
    CompletePrevPurchase(AttributeId),
    ErrorDuringPurchase,
}
5️⃣ 要批准代币,你应该向同质化代币发送 LogicAction::Approve 消息:
use ft_main_io::{FTokenAction, FTokenEvent, LogicAction};

// ...

async fn approve_tokens(&mut self, account: &ActorId, amount: u128) {
    // ...
    msg::send_for_reply_as::<_, FTokenEvent>(
        self.ft_contract_id,
        FTokenAction::Message {
            transaction_id: self.transaction_id,
            payload: LogicAction::Approve {
                approved_account: account,
                amount,
            },
        },
        0,
        0,
    )
    .expect("Error in sending a message `FTokenAction::Message`")
    .await;
    // ...
}
6️⃣ 在处理 BuyAttribute 消息时,Tamagotchi 必须向商店合约发送以下消息:
StoreAction::BuyAttribute { attribute_id }
前端
接下来,我们将在链上部署同质化代币和商店合约。前往 upload 文件夹。
transactions.yaml 文件包含了上传合约和填充商店合约属性的交易。
-
在此文件夹中运行以下命令(对于 Linux、macOS 或 Windows 子系统 for Linux):
make init
make run
在控制台中,你可以看到同质化代币和商店合约的地址。
-
将它们的地址粘贴到位于
frontend目录中的.env文件中:VITE_NODE_ADDRESS=wss://testnet.vara.rs
VITE_FT_ADDRESS=0x…
VITE_STORE_ADDRESS=0x… -
将同质化代币的地址设置到你的 Tamagotchi 合约中。
-
运行应用程序并选择 Lesson 4。
-
获取测试用的同质化代币:

-
批准商店合约以转移你的 Tamagotchi 的代币。
-
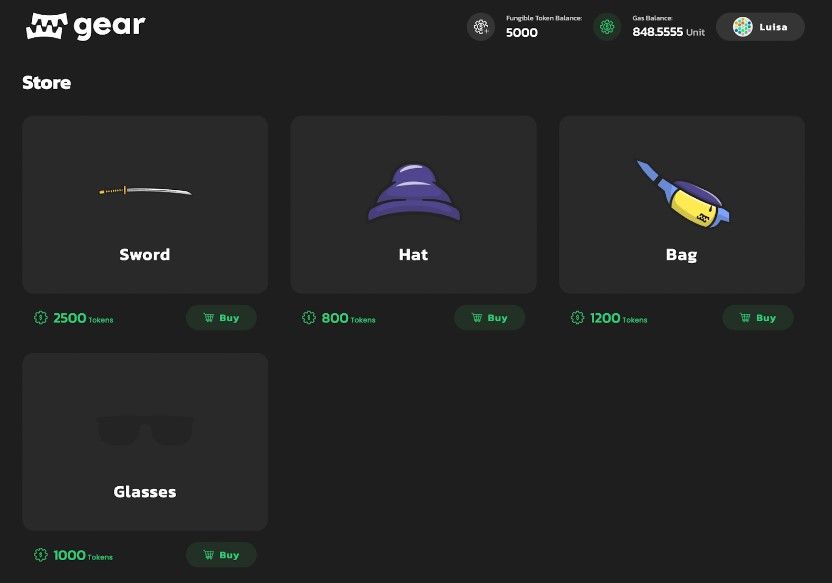
打开商店。购买属性并查看你的 Tamagotchi 如何变化。

请附上包含 Tamagotchi 合约的存储库中的 PR 链接。此外,请粘贴你的 Tamagotchi 程序地址,如下例所示:
- PR: https://github.com/mynick/myname-gear-academy/pull/4
- 程序地址:
0xd43593c715fdd31c61141abd04a99fd6822c8558854ccde39a5684e7a56da27d